Pinball Engineering
The Engineering Process
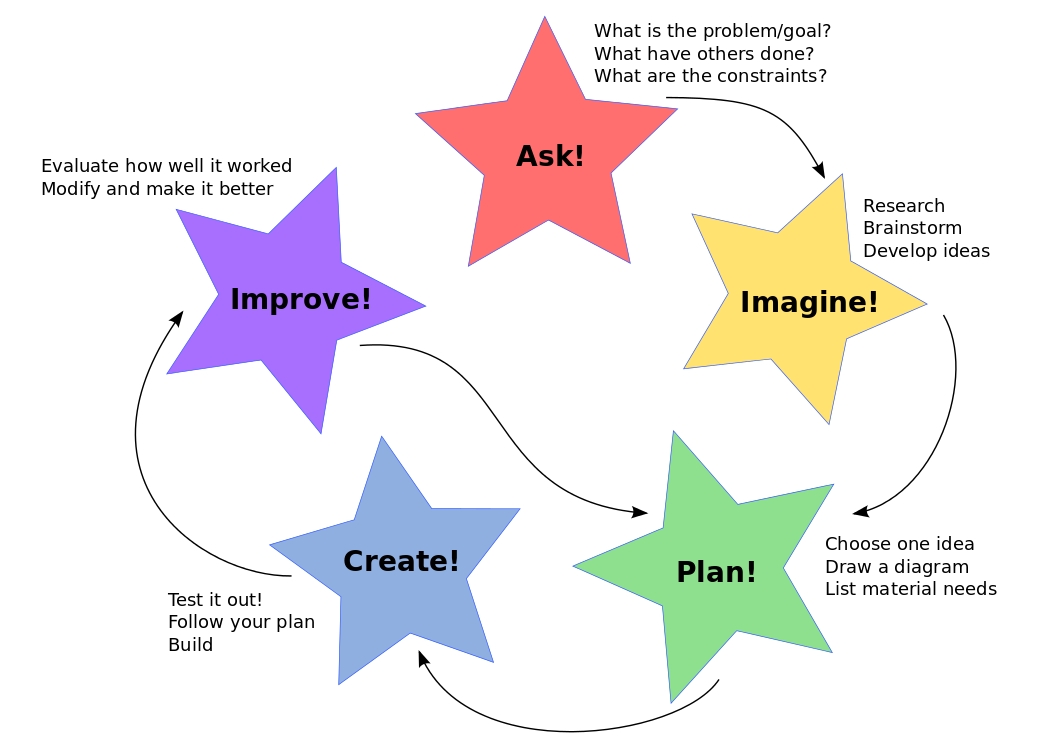
Engineering a pinball machine is done by following the engineering process, illustrated below:

Pinball Engineering:
- IMAGINE: Brainstorm ideas for the pinball machine
- PLAN: Draw up a proposal including a diagram and a list of supplies
- CREATE: Make a prototype of your creation, one element at a time
- IMPROVE: Test your prototype, one element at a time. Modify anything that doesn’t work, and move on to the next element when you are satisfied.
- PLAN, CREATE, IMPROVE again and again!
Prototyping Tips
Prototyping is making sure that adding a new element to your existing machine doesn’t break your code or overload your electronics. When prototyping, make sure not to overwrite your old sketch (make a new copy for every new element you add!). Here are the steps:
- Add new element onto breadboard. Test that it works electronically as expected.
- Write new element code
- Test new code and make sure it doesn’t make existing elements stop working.
- Repeat steps 1-3 until you have a fully functioning electronic prototype.
Installation Tips
After a working prototype exists, go step by step:
- Make a key with labels
- Plan installation sites and pencil them onto board.
- Drill holes for wires
- Measure and cut wires and label them on both ends with the element name
- Solder, insulate, and label all elements
- Install elements onto table in a “rough” way (don’t glue them in yet - tape them on with painter’s tape)
- Organize wires (tape them along the bottom/back of table), mount breadboard on table, and reinstall wires
- Rewire (onto breadboard, after the breadboard is mounted on the table)
- Test elements on the table (without a ball) - look for any problems with soldering, insulation, etc before gluing anything in
- Glue in parts
- Organize wires: parallelize common wires (Vcc and GND lines especially)
- Final test. Adjust thresholds or other parameters as needed
- Play pinball and show off your skills!
